Building a mold
The last week we have been working hard on creating our mold from which we will build our new piece of hull. We have had some reassuring visits from other people in the boatyard, that have done this sort of work in the past, who say that they would do it the same way! It is reassuring, not because I thought Kevin didn’t know what he was doing, but because we have also had several people ask if we really needed to be do as much as we are doing. The answer is yes! There really was that much damage and we really did need to do that much repair.
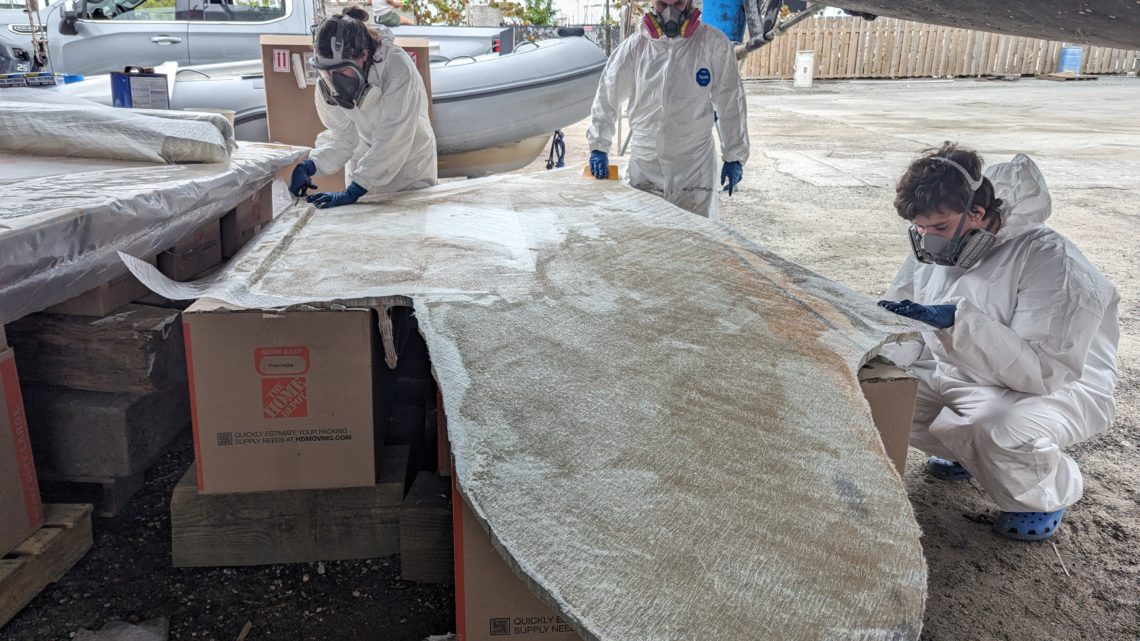
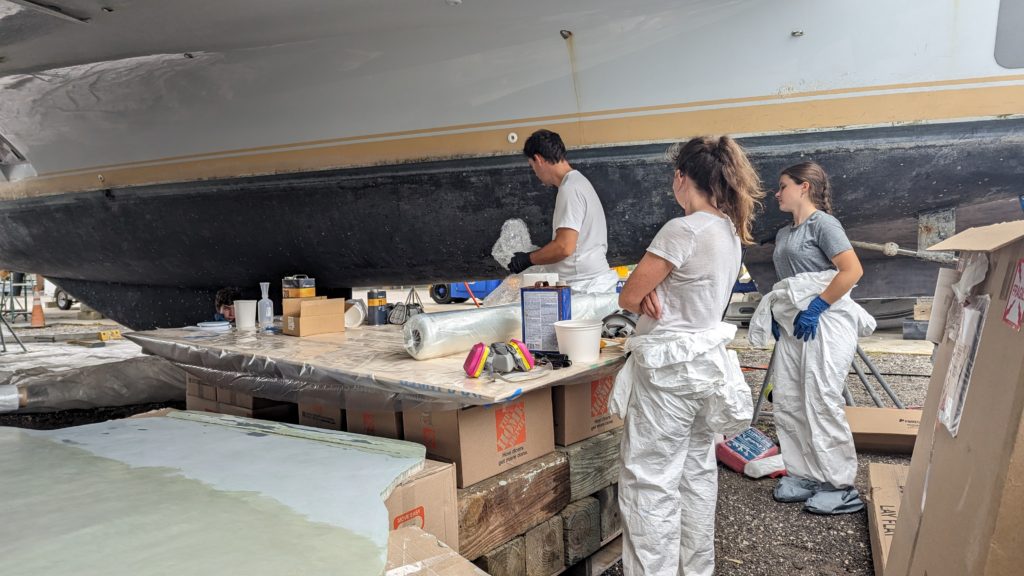
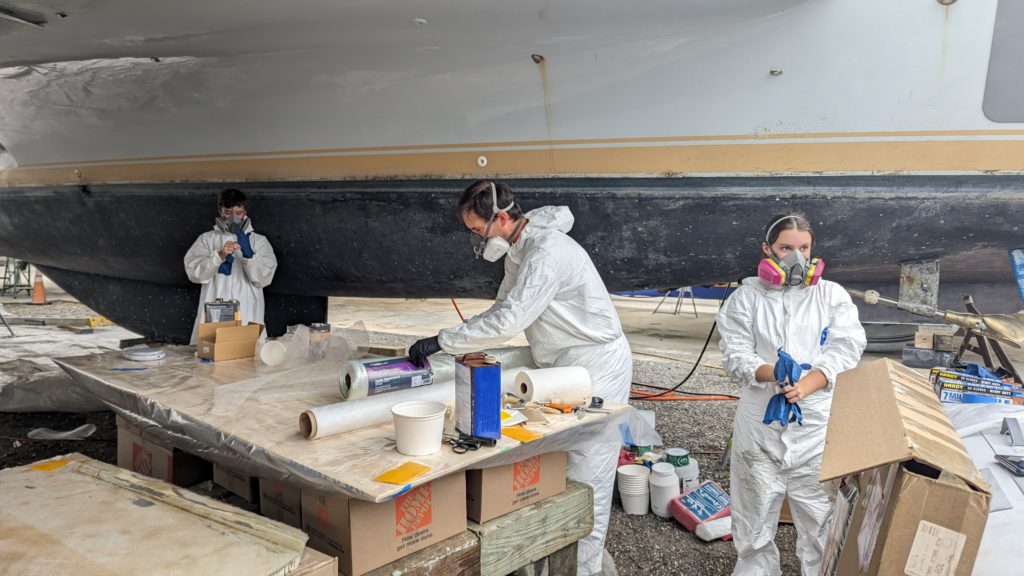
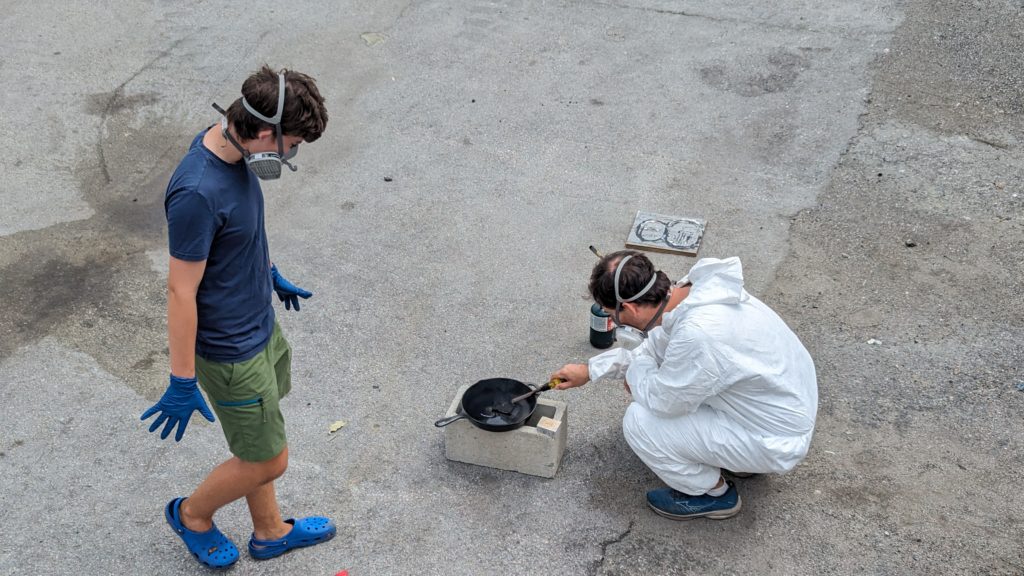
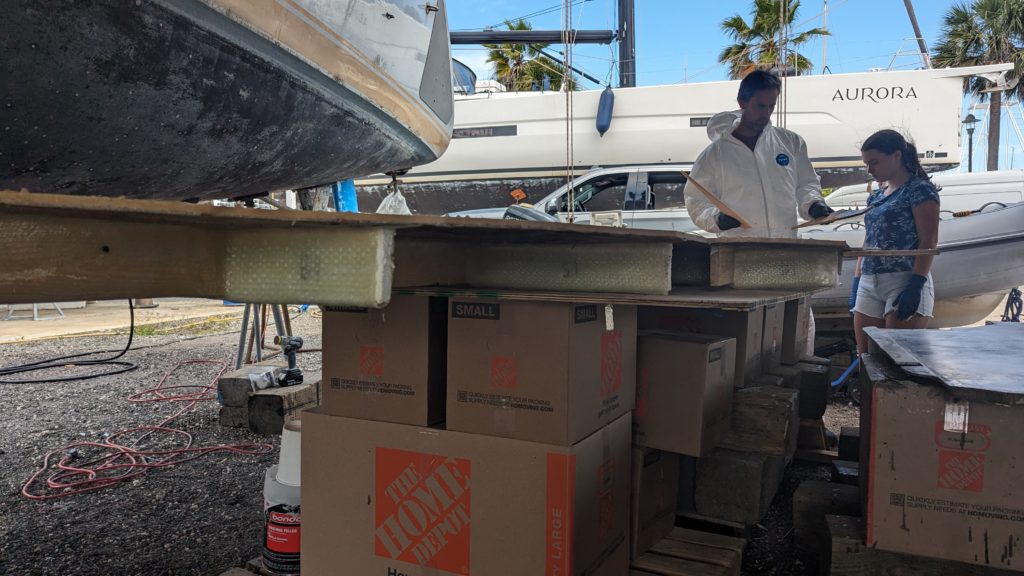
I left off last week with us all set up to make the mold. Our piece of damaged hull was faired to Kevin’s satisfaction and we applied wax to it so that the mold would easily come apart from it when it was dry. We put six layers of wax on it. It was very smooth. Luckily, the waxing took only a few hours to do, even with the six layers. Then, Owen, Halyna, Kevin and I spent a long day building up the mold. It had to be done all in one go so that the layers would stick together. We did two layers of surface-veil mats of fiberglass (think chunks of fiberglass matted together in sheets) , then two layers of stitched biaxial strand fiberglass (fiberglass strands organized on a diagonal and stitched together to hold their place) followed by a layer of stiff foam and then two more layers of stitched biaxial fiberglass. They were held together with polyester resin. Previously we have used epoxy resin which is easier because it doesn’t have an odor, but it is also more expensive. With the polyester resin we all had to wear, not only our full body suits to protect us from the resin and fiberglass strands, but also filtered masks to protect ourselves from the chemicals. It makes for hot work in the Florida heat. We rewarded ourselves at the end of the long day with a pizza dinner.


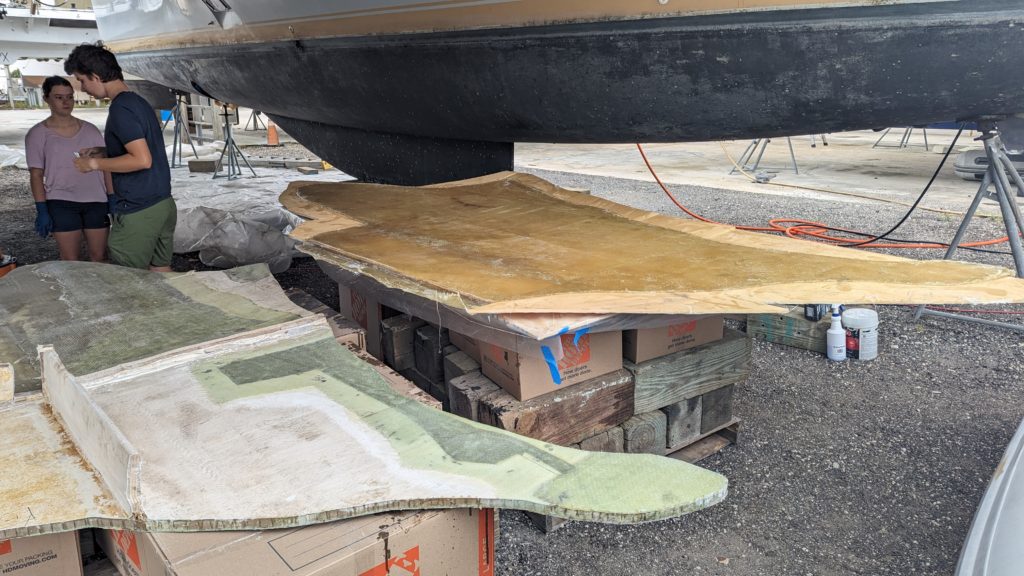
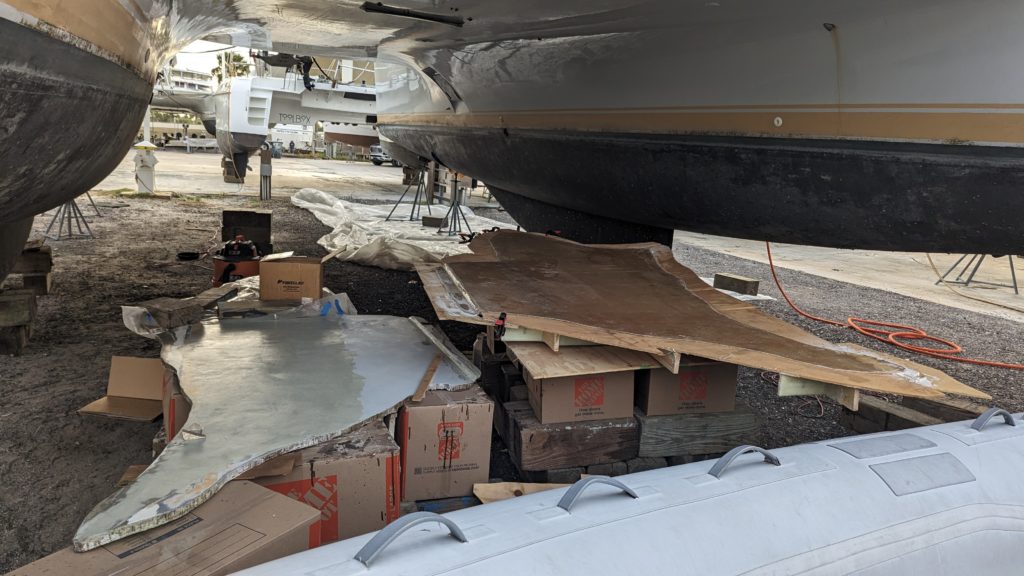
The next day we were pleasantly surprised to have the mold come away from the damanged hull piece very easily! There was a moment of anxiety when you can feel how hard the mold is and it seems so stuck to the hull. However, with the use of wedges, it easily came apart. The mold appears like a great impression of the original. Yay, it worked! However, it wasn’t stiff enough. It curled more than the hull was curved and didn’t match up with the templates we made last week to keep checking our work. So, we had to stiffen up the mold. We put the mold back on the damaged hull pieced and weighed it down so that it assumed the proper shape and then got to work creating a support system to help it hold its shape.
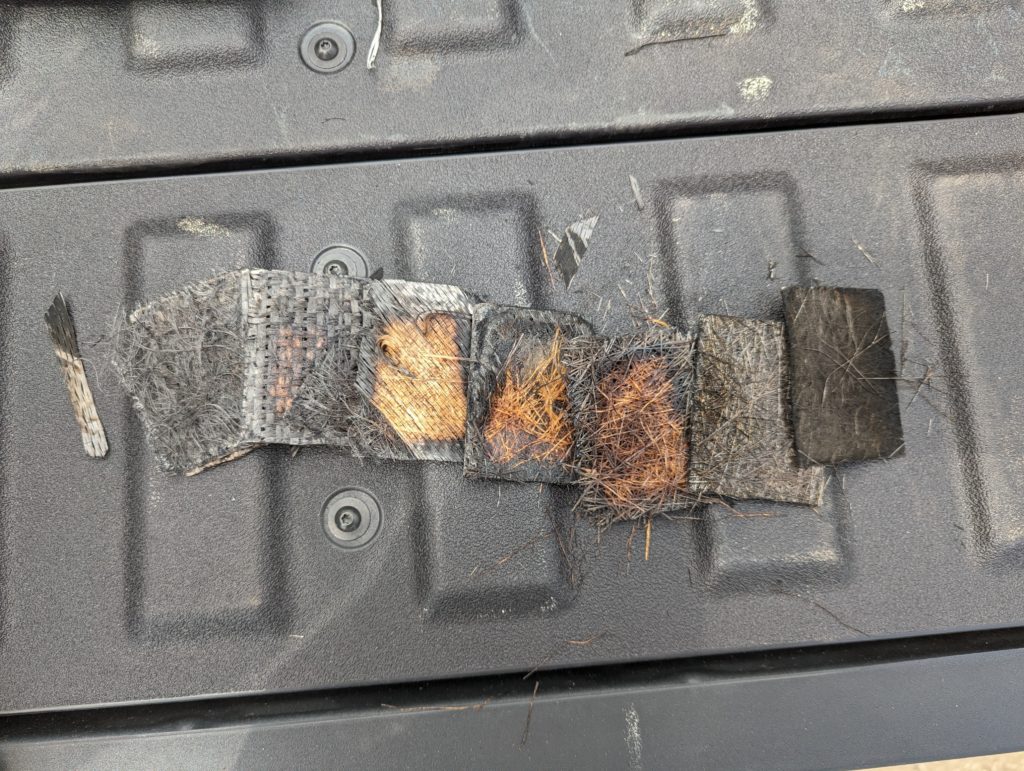
Before building the mold support system, we also cut away parts of the old hull so that we could determine what they were actually made of (how many layers and of what types of fiberglass). We want to make the new hull piece of the exactly same layers. Turns out, you can torch the pieces of hull, which melts the resin and leaves behind the loose layers that make up the hull. Owen and Kevin greatly enjoyed this experiment.
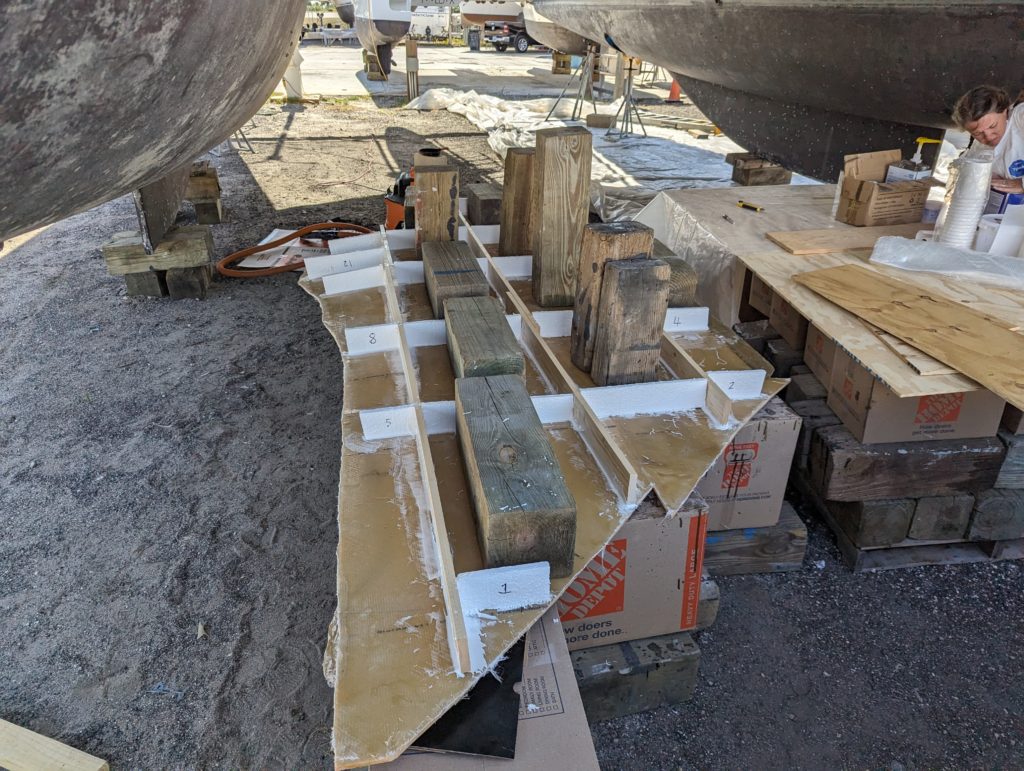
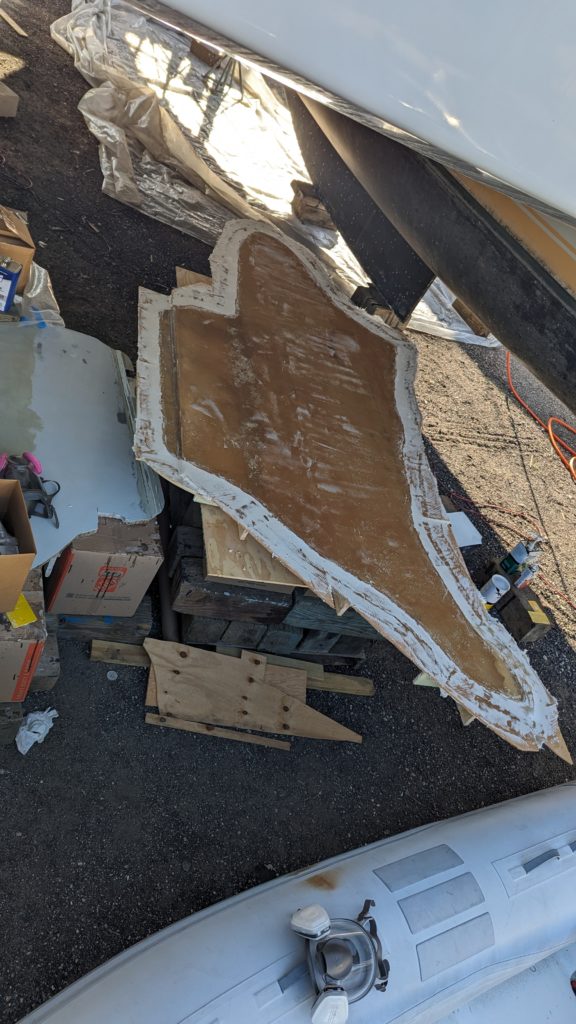
Creating the support system for the mold was time consuming. Once we started, Kevin realized that he should have done it differently, but we couldn’t go back (this seems to be a common theme in our trip and I will write a post soon about what 20/20 hindsight has taught us). We decided to support the mold with 1×4 lumber going length-wise and polystyrene foam running across the height in a grid pattern. We then supported the polystyrene with fiberglass to create the ridge structure. We should have just used wood for the whole thing, but we thought it would save us money to use the polystyrene. Instead, it meant we had to add a lot of fiberglass supports to the foam strips, and what is more, we had to use the more expensive epoxy resin with the fiberglass because the polyester resin would melt the polystyrene. But the support system worked! It now maintains the shape and matches up with the templates we made.
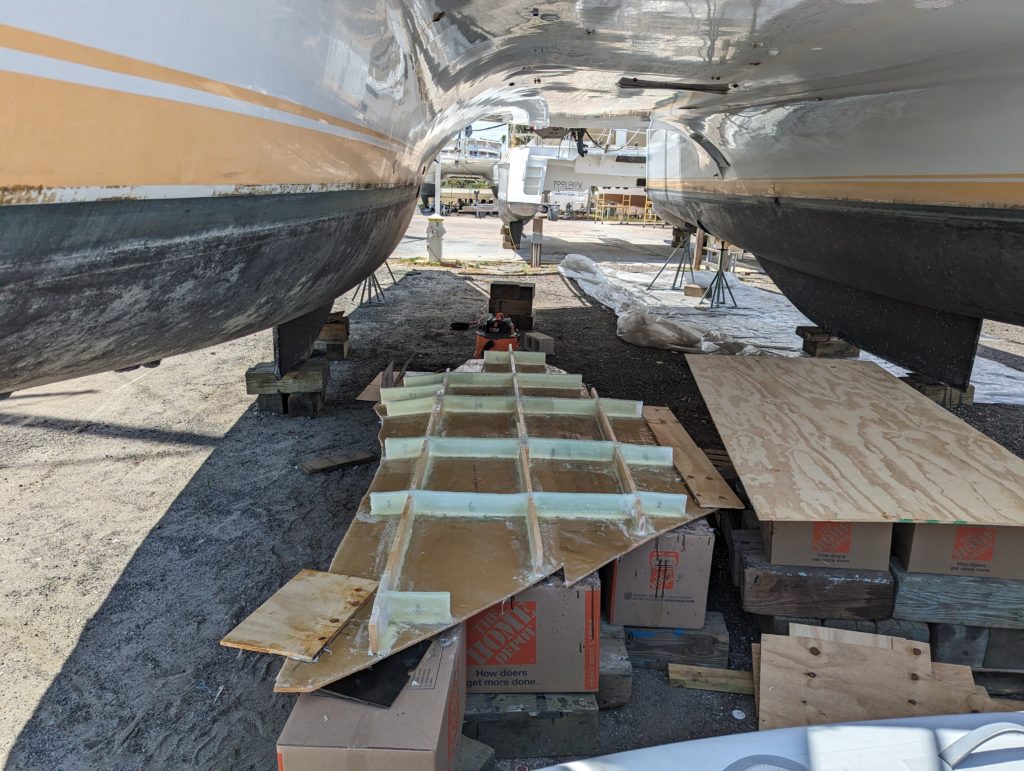
After making the mold rigid, we had to add a ‘flange’ to the outside of it. This is because we will be building the new hull piece using the vacuum infusion technique, and there needs to be space outside the new hull piece to place the bag that will create the vacuum around the new hull piece. This took some time. We had tried to leave a 15cm perimeter of foam when we added the foam to the mold, but there were some spots where we didn’t accomplish this, so we had to add pieces of plywood to these sections and then foam to build it up to the same height. Then, the whole flange was smoothed out with a strip of fiberglass and resin filler. Now that the flange is done, we are going to make a practice piece of the new hull to make sure we know what we are doing (just a small 30cm x 60cm square) and to know how fast the infusion will run through the layers. Then, we will make the new hull piece!
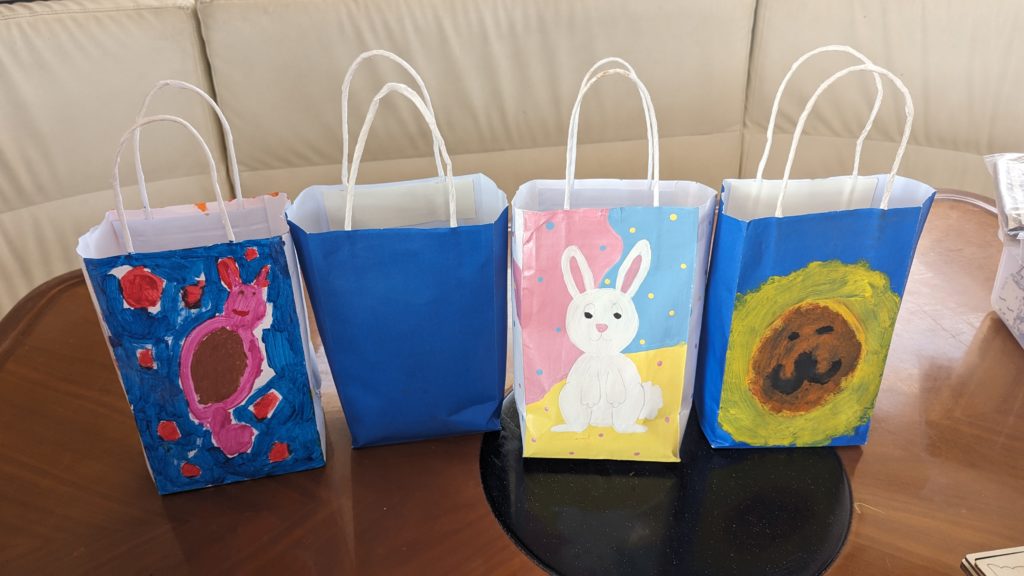
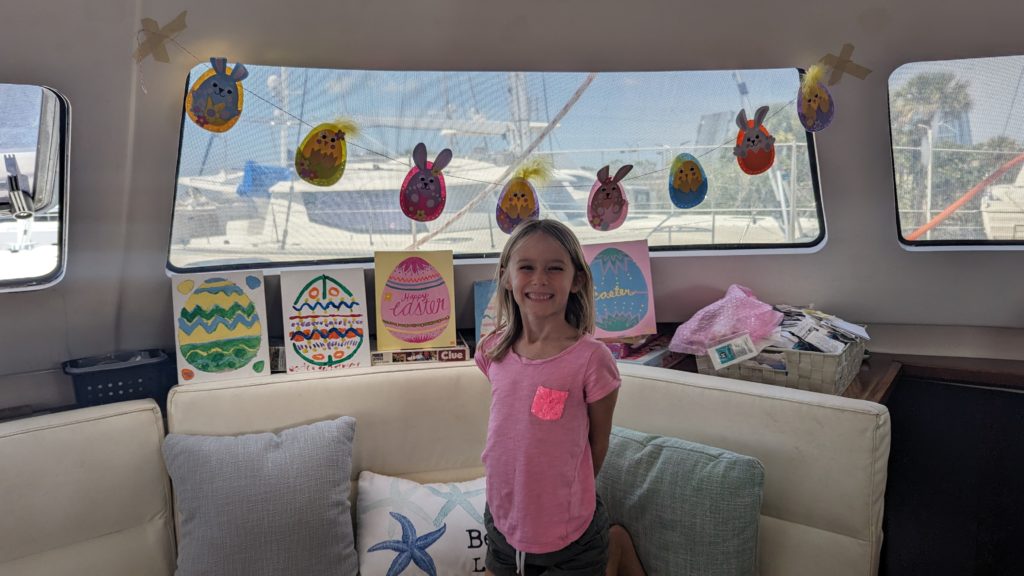
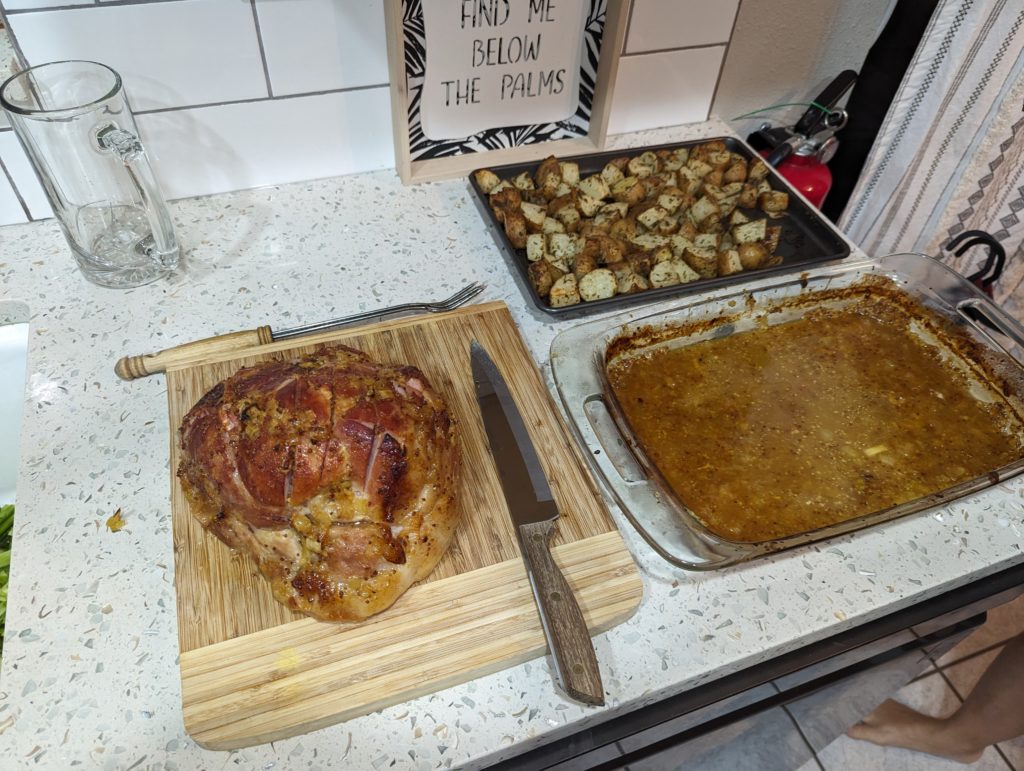
We have now been on the boat over a year! Which means that we had our second Easter celebration away from home. This time the Easter bunny visited us and left chocolates in the rental unit. Easter dinner was after a long day at the boatyard, but we managed to cook ourselves some ham and we did some Easter decorations at the boat while Kevin and I were working.
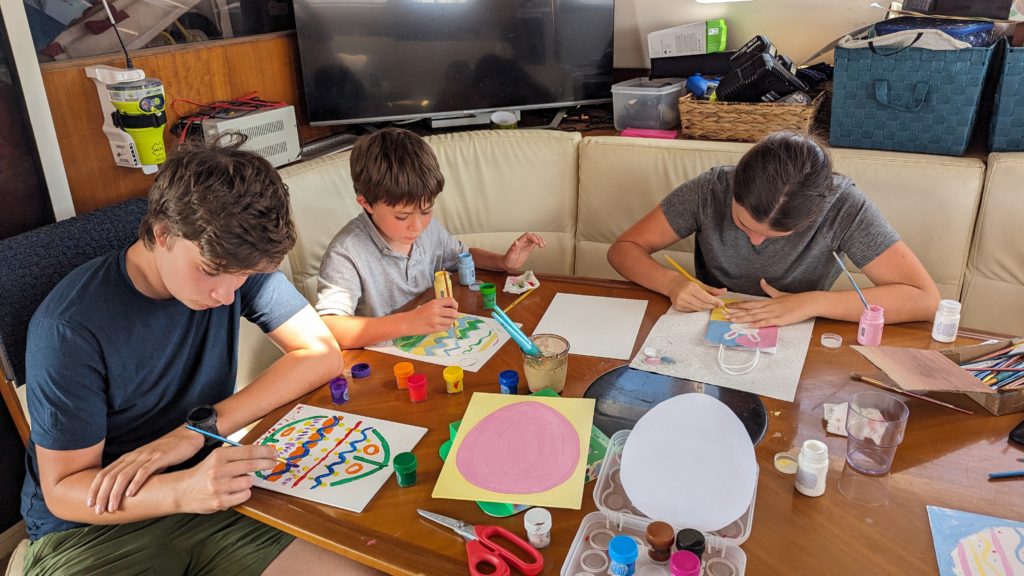
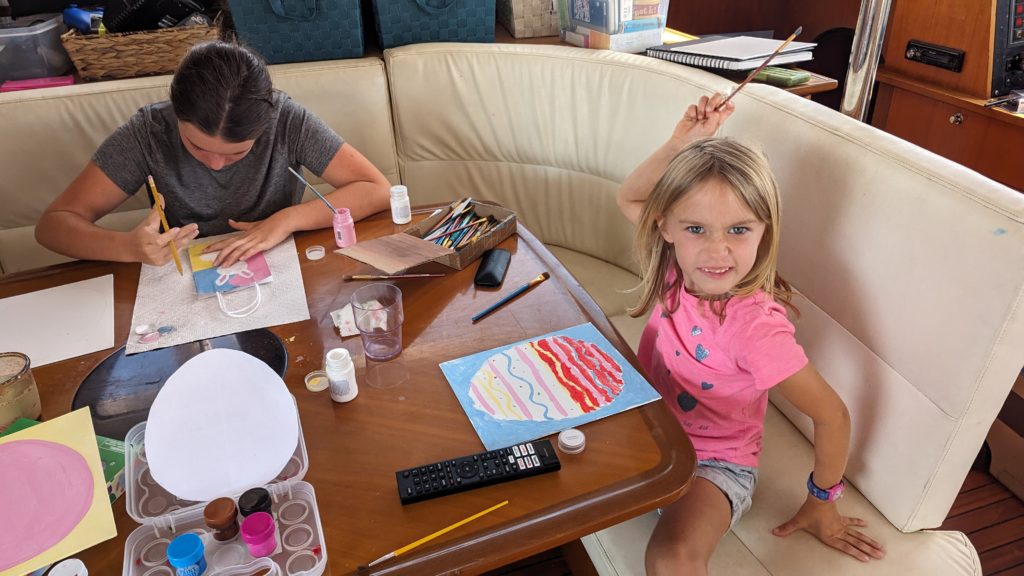
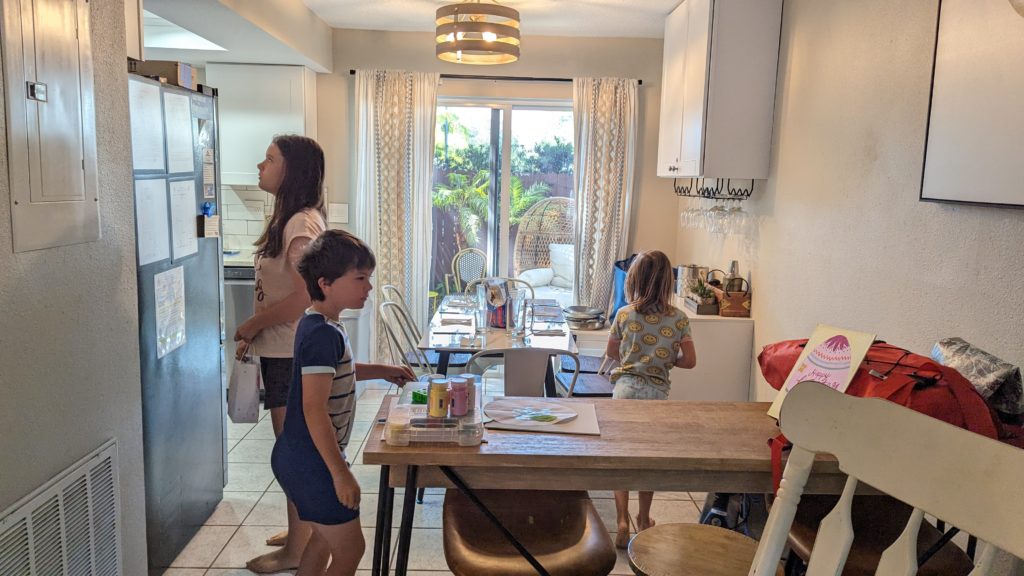
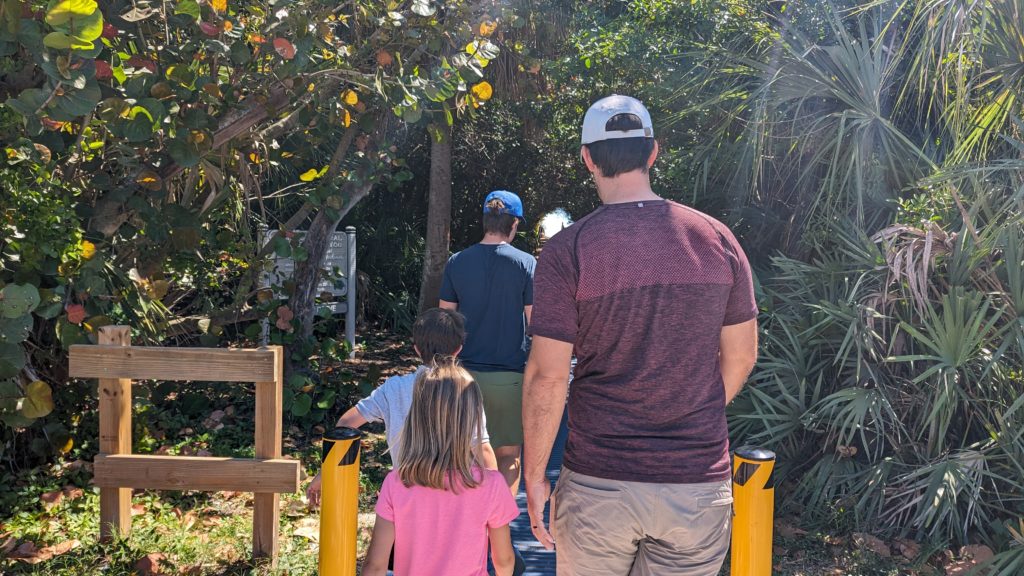
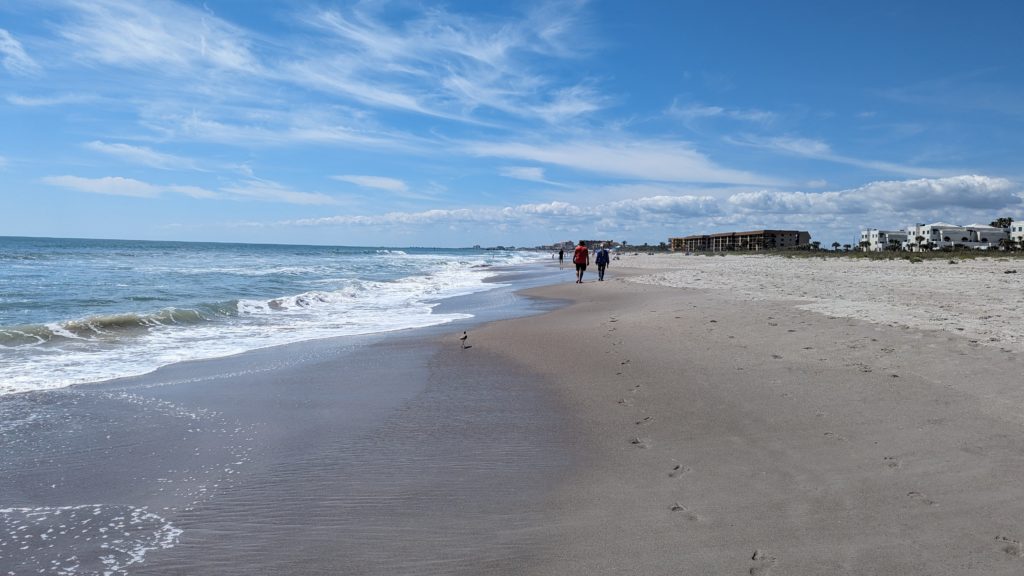
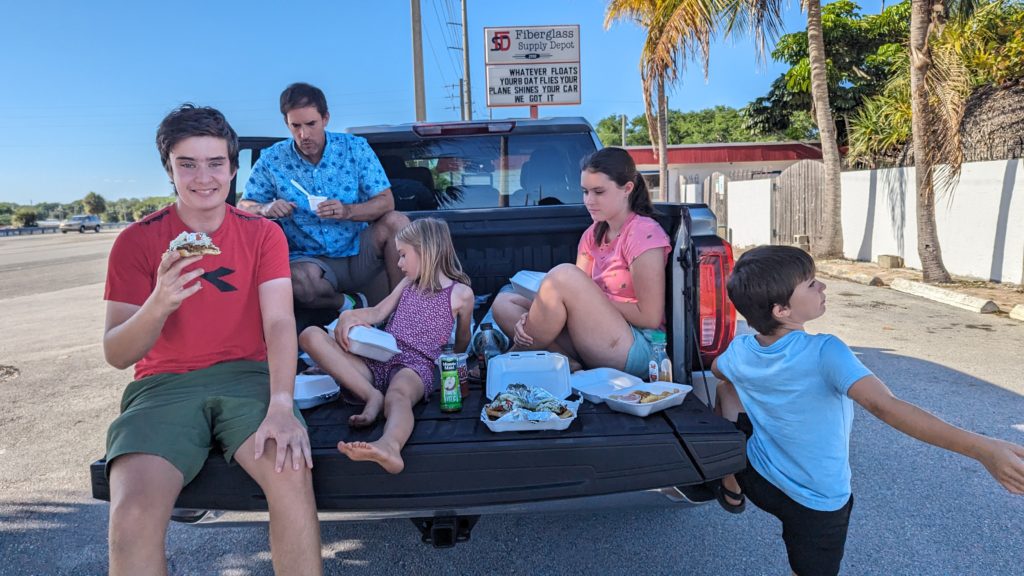
There have been so many steps to this repair, and when we sit down and count them out, there are so many more to go. We are trying to get it done in a timely matter, but it is difficult mixed with the demands of an everyday life of a family of 6. The kids have ‘returned’ to school and next week we return to living on the boat even though we will likely be on the hard for 2-3 weeks longer. I think in many ways we are looking forward to at least being in our familiar ‘home’. It is rewarding to have kids around while doing this work, because they tend to make everything more fun and because they remind Kevin and I to do some extra-curricular activities despite our focus on the boat.


3 Comments
Trish
You have had a very busy week with boat repairs. I find your description of all the work very detailed and along with the pictures I have a pretty good idea of all that is involved. The size of the repair is insane and indicates just how hard the idiot hit you.
I look forward to the next steps on your journey!
Mum/Nanna
Stefan Holecka
I really appriciate the effort you go to in all you do. Thank you for taking the time to post your efforts for all of us to see what it takes. I have done some fiberglass work and I know how much work this is and with the kids helping ha. Keep up the great work and one day you will get a vacation.
Keely Kastrukoff
Wow, that is a crazy amount of work! It’s amazing how much you are learning and how patient you all are in the problem solving process. So impressive that you are still managing to have done fun and find time for school when there is so much time consuming work to do.
Well done with the mold!!!!